UltraViewer’s advanced features are designed to streamline business workflows, from multi-device management to real-time collaboration. This section will guide you through using these features to maximize productivity after UltraViewer download.
2.1 Managing Multiple Concurrent Remote Sessions
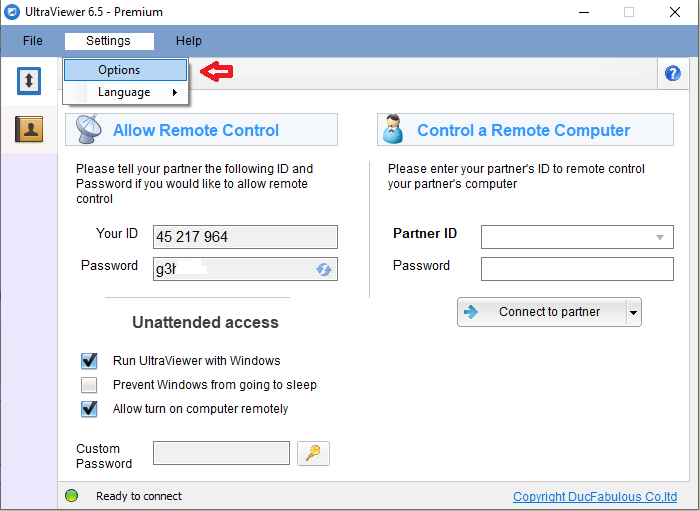
IT professionals and technical support teams often need to manage multiple remote devices simultaneously. UltraViewer supports multiple concurrent sessions, allowing you to switch between devices seamlessly:
2.1.1 Opening Multiple Remote Sessions
- Open UltraViewer on your computer.
- Initiate a remote session with the first device as described in the basic tutorial (enter Partner ID and Password, click “Connect to partner”).
- To open a second session, keep the first session window open and return to the main UltraViewer interface.
- Enter the Partner ID and Password for the second device and click “Connect to partner.” A new window will open for the second session.
- Repeat this process to open additional sessions. UltraViewer supports an unlimited number of concurrent sessions (depending on your computer’s resources).
2.1.2 Switching Between Sessions and Managing Workflows
To switch between concurrent sessions, simply click on the corresponding window in your taskbar. For efficient management of multiple sessions, use the following tips:
- Rename session windows: Click the “Options” menu in a session window and select “Rename Window.” Enter a descriptive name (e.g., “Client A – Accounting PC”) to easily identify each session.
- Use virtual desktops: On Windows 10/11, use virtual desktops to organize sessions (Win + Tab > “New Desktop”). Assign each session to a separate virtual desktop to reduce clutter.
- Prioritize sessions: Close unnecessary sessions or minimize them to the taskbar to focus on critical tasks.
2.2 Switch-Side Control: Reversing Remote Access
A valuable advanced feature introduced in UltraViewer v6.6.108 is switch-side control, which allows you to reverse the remote connection—enabling the remote user to control your computer without the need for them to enter your User ID and Password manually. This is ideal for collaborative troubleshooting or training scenarios:
- Establish a remote session with the target device as usual.
- In the top menu bar of the session window, click the “Actions” tab.
- Select “Switch Control Side” from the dropdown menu.
- A prompt will appear asking for confirmation. Click “Yes” to proceed.
- The remote user will now have control of your computer, and you will lose control of theirs (but can still view their screen).
- To switch back, click “Actions” > “Switch Control Side” again and confirm.
Note that both computers must be running UltraViewer v6.6.108 or later for this feature to work. If the remote user is on an older version, guide them to complete a new UltraViewer download of the latest version to enable switch-side control.
2.3 Microphone Support for Voice Communication (2025 Update)
UltraViewer v6.6.120 (released in February 2025) added microphone support, allowing for real-time voice communication during remote sessions. This eliminates the need for separate communication tools like Zoom or Microsoft Teams, streamlining technical support workflows:
2.3.1 Enabling Microphone Access in UltraViewer
- Ensure both computers have the latest version of UltraViewer (complete UltraViewer download if necessary).
- Establish a remote session.
- In the top menu bar, click the “Options” tab.
- Select “Audio Settings” from the dropdown menu.
- Check the “Enable microphone” box. UltraViewer will automatically detect your default microphone.
- Adjust the microphone volume using the slider if needed.
- Click “OK” to apply the settings. The remote user will now be able to hear you, and you can hear them if they have enabled their microphone.
2.3.2 Troubleshooting Microphone Issues
If the microphone is not working, try the following solutions:
- Verify microphone permissions: Ensure UltraViewer has permission to access your microphone (Windows Settings > Privacy & Security > Microphone > Allow apps to access your microphone).
- Check default microphone: Ensure the correct microphone is selected in UltraViewer’s audio settings.
- Update audio drivers: Outdated audio drivers can cause compatibility issues. Update your audio drivers and restart UltraViewer.
- Reconnect the session: Sometimes, a simple session restart can resolve audio issues.
2.4 Advanced Screen Recording and Session Documentation
For businesses that need to document remote support sessions, training materials, or compliance-related activities, UltraViewer’s advanced screen recording features are essential. The latest version includes improvements to recording quality and file compatibility:
2.4.1 Customizing Screen Recording Settings
- Establish a remote session.
- Click the “Screen” tab in the top menu bar and select “Recording Settings.”
- Customize the following settings:
- Video Quality: Select “High” for clear documentation, “Medium” for balanced quality and file size, or “Low” for small file sizes (ideal for slow networks).
- Frame Rate: Adjust the frame rate (5-30 FPS). A higher frame rate results in smoother video but larger file sizes.
- Audio Recording: Check “Record audio” to include voice communication (requires microphone support).
- Save Location: Select a custom folder to save recorded videos.
- Click “OK” to save the settings.
- Start recording by clicking “Screen” > “Record Screen.”
2.4.2 Managing and Sharing Recorded Sessions
Recorded sessions are saved as .uvr files, which can be played back using UltraViewer. To share recordings with team members or clients:
- Locate the .uvr file in the save location you specified.
- Transfer the file to the recipient via email, cloud storage (e.g., Google Drive, OneDrive), or UltraViewer’s file transfer feature.
- The recipient must have UltraViewer installed to play the .uvr file. If they don’t have UltraViewer, guide them to complete UltraViewer download from the official website.
- For users who cannot install UltraViewer, use a video converter tool to convert the .uvr file to a more universal format (e.g., MP4) before sharing.
2.5 Copy-Paste Between Multiple Remote Sessions (2025 Update)
UltraViewer v6.6.110 introduced the ability to copy-paste text and files between multiple remote sessions, a feature that saves significant time for IT professionals managing multiple devices. Here’s how to use it:
- Ensure both remote computers are running UltraViewer v6.6.110 or later (complete UltraViewer download if necessary).
- Establish concurrent sessions with both devices.
- On the first remote computer, select the text or file you want to copy.
- Use the standard copy shortcut (Ctrl+C for text, right-click > “Copy” for files).
- Switch to the second remote session window.
- Use the paste shortcut (Ctrl+V for text, right-click > “Paste” for files) to paste the content.
This feature works for both text (e.g., passwords, commands) and files (e.g., configuration files, logs), eliminating the need to transfer files via chat or cloud storage between sessions.
Chapter 3: Business-Specific Use Cases and Workflows
UltraViewer’s advanced features are tailored to address common business challenges, from technical support to remote team collaboration. This section will explore real-world use cases and provide step-by-step workflows to help you apply these features in your business.
3.1 Technical Support Workflow for Client Devices
Technical support teams can use UltraViewer to provide efficient remote support to clients, reducing the need for on-site visits. Here’s a step-by-step workflow:
- Pre-Session Preparation:
- Guide the client to complete UltraViewer download from the official website (https://www.ultraviewer.net/) and install the software.
- Ask the client to share their UltraViewer User ID and Password (