In today’s fast-paced business environment, efficient remote support and seamless collaboration are critical to maintaining productivity. UltraViewer, a free and lightweight remote control software, has become a go-to solution for businesses and IT professionals thanks to its robust features, ease of use, and cost-effectiveness. While basic UltraViewer functions are straightforward, mastering advanced features can significantly enhance your workflow, whether you’re managing multiple remote devices, providing technical support to clients, or collaborating with distributed teams. This advanced tutorial will guide you through unlocking UltraViewer’s full potential after a secure UltraViewer download, focusing on business-specific use cases and advanced functionalities introduced in the 2025 latest version (v6.6.124).
Before proceeding, ensure you have completed a successful UltraViewer download of the latest version from the official website (https://www.ultraviewer.net/). The 2025 updates, including microphone support, switch-side control, blacklist/whitelist admin checks, and improved multi-session management, are essential for the advanced features covered in this guide. Using an outdated version may limit access to these productivity-boosting tools, so a fresh UltraViewer download is recommended if you haven’t updated recently.
Chapter 1: Advanced Setup for Business Environments After UltraViewer Download
For businesses, a proper setup after UltraViewer download is crucial to ensure security, consistency, and scalability. This section will walk you through configuring UltraViewer for enterprise use, including network settings, user management, and deployment strategies.
1.1 Configuring Network Settings for Enterprise Use
Businesses often operate on secured networks with firewalls and proxy servers, which can interfere with UltraViewer’s connectivity. To ensure seamless remote access, configure your network settings as follows:
1.1.1 Firewall Exceptions for UltraViewer
UltraViewer uses specific ports to establish connections. To avoid firewall blocks, add the following exceptions to your network firewall (both software and hardware):
- TCP Ports: 5900, 5800 (default ports for remote desktop protocol)
- UltraViewer Executable: Add “UltraViewer.exe” and “UltraViewer_Server.exe” to the allowed list of applications.
For IT administrators managing multiple devices, deploy these firewall rules centrally using group policy (Windows Domain) to ensure consistency across all endpoints. This step is critical after UltraViewer download to avoid connection issues in large-scale deployments.
1.1.2 Proxy Server Configuration
If your business uses a proxy server to access the internet, configure UltraViewer to work with the proxy:
- Open UltraViewer and click the “Options” menu in the main interface.
- Select “Proxy Settings” from the dropdown menu.
- Check the “Use proxy server” box and enter the proxy server address, port, username, and password (if required).
- Click “Test Connection” to verify that UltraViewer can connect to the internet through the proxy.
- Click “OK” to save the settings.
1.2 Deploying UltraViewer Across Multiple Business Devices
For businesses needing to install UltraViewer on multiple devices, manual UltraViewer download and installation on each device is inefficient. Instead, use one of the following deployment methods:
1.2.1 Silent Installation (Command Line)
UltraViewer supports silent installation, allowing IT administrators to deploy the software without user interaction. After completing the UltraViewer download of the installer file, use the following command in Command Prompt or PowerShell:
UltraViewer_Setup.exe /s /verysilent
This command will install UltraViewer in the default directory with no user prompts. You can also specify a custom installation directory using the /dir parameter:
UltraViewer_Setup.exe /s /verysilent /dir="C:\Program Files\UltraViewer"
1.2.2 Group Policy Deployment (Windows Domain)
For businesses using Windows Domain, deploy UltraViewer via Group Policy:
- Complete the UltraViewer download and save the installer file to a network share accessible to all target devices.
- Open the Group Policy Management Console (GPMC) and create a new Group Policy Object (GPO).
- Edit the GPO and navigate to “Computer Configuration” > “Policies” > “Software Settings” > “Software Installation.”
- Right-click “Software Installation” and select “New” > “Package.”
- Browse to the network share where you saved the UltraViewer download file, select it, and click “Open.”
- Select “Assigned” and click “OK.” The package will be added to the GPO.
- Link the GPO to the appropriate Organizational Unit (OU) containing the target devices. UltraViewer will be installed automatically the next time the devices restart.
1.3 Configuring Security Settings for Business Data Protectio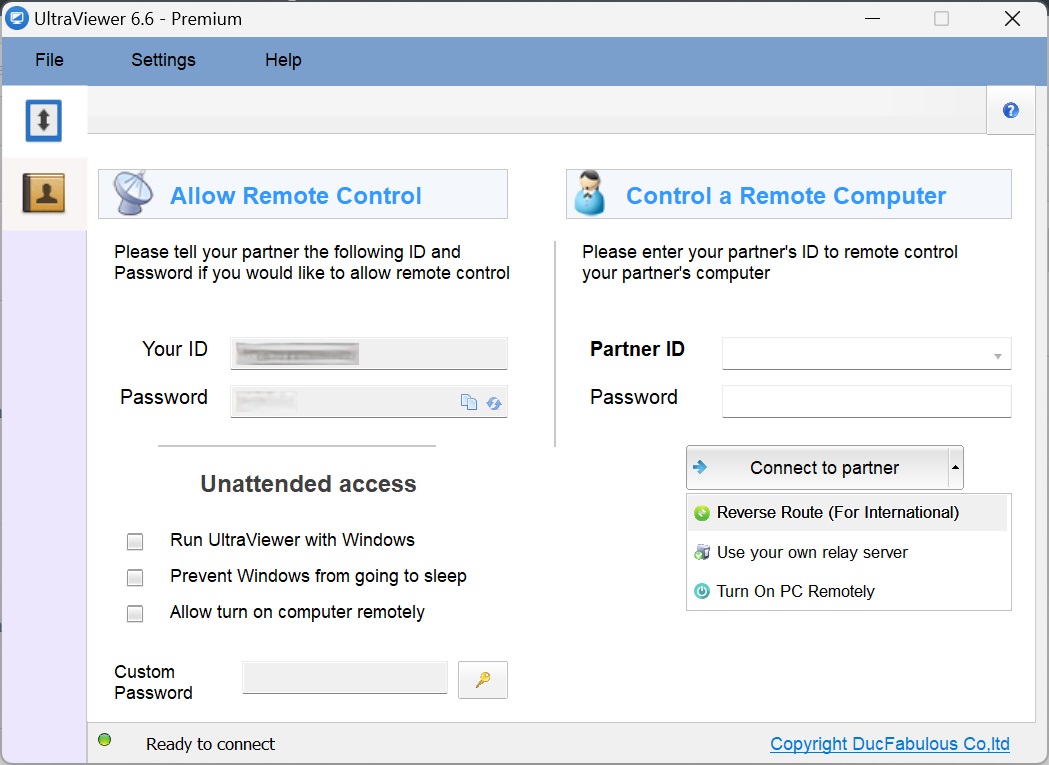 n
n
Businesses handling sensitive data require strict security measures. After UltraViewer download, configure the following security settings to protect your devices and data:
1.3.1 Blacklist and Whitelist Management (Latest 2025 Feature)
The 2025 version of UltraViewer (v6.6.124) introduces admin privilege checks for blacklist and whitelist settings, allowing you to restrict remote access to trusted IP addresses only. Here’s how to configure this:
- Open UltraViewer as an administrator (right-click > “Run as administrator”).
- Click the “Options” menu and select “Security Settings.”
- Under “IP Filtering,” select “Allow only IP addresses in the whitelist” to block all access except from trusted IPs, or “Block IP addresses in the blacklist” to block specific untrusted IPs.
- Click “Add” to enter the IP addresses (or IP ranges) for the whitelist/blacklist.
- Click “Apply” and “OK” to save the settings. Note that admin privileges are required to modify these settings, preventing unauthorized changes by regular users.
1.3.2 Password Security Best Practices
By default, UltraViewer generates a temporary password each time it’s launched, but for business use, we recommend the following password security measures:
- Set a static password: Click the “Change Password” button in the “Allow Remote Control” section to set a strong, unique password for your device. This is ideal for devices that require regular remote access.
- Enable password expiration: Use third-party tools to enforce password changes at regular intervals (e.g., every 30 days) for added security.
- Avoid weak passwords: Use a combination of uppercase letters, lowercase letters, numbers, and special characters to create a strong password.