UltraViewer Usage Tutorials with UltraViewer Download Guide
1. From UltraViewer Download to Remote Control Mastery: A Step-by-Step User Guide
In the era of remote work and global collaboration, reliable remote desktop software has become an indispensable tool for both individuals and businesses. UltraViewer stands out as a lightweight, user-friendly, and cost-effective solution, enabling seamless remote access, file transfers, and technical support across Windows devices. However, to unlock its full potential, a proper UltraViewer download and setup process is fundamental. This comprehensive tutorial will walk you through every detail from a secure UltraViewer download to mastering basic and essential remote control functions, ensuring you can leverage UltraViewer efficiently for personal or professional use.
The Importance of Secure UltraViewer Download
Before diving into usage, the first and most critical step is a secure UltraViewer download. With the prevalence of malicious software and counterfeit applications, downloading UltraViewer from official and trusted sources is non-negotiable. Unauthorized UltraViewer download sources may contain viruses, malware, or modified code that compromises your device security and data privacy. The official UltraViewer download page (ultraviewer.net) provides the latest, most stable version (currently 6.6.124) that supports all Windows operating systems from Windows XP to Windows 11, ensuring compatibility and optimal performance.
Another key consideration for UltraViewer download is selecting the appropriate version. The official website offers two main options: the EXE installer (1.5 MB) with full features and the portable ZIP version (also 1.5 MB) that runs without installation. The EXE version is recommended for regular users as it creates a desktop shortcut and integrates better with the Windows system, while the portable version is suitable for users who need to run UltraViewer from a USB drive on multiple computers. Regardless of the version chosen, the UltraViewer download process is quick and bandwidth-friendly, taking only a few seconds even with a slow internet connection.
Step-by-Step UltraViewer Download and Installation Process
Prerequisites for UltraViewer Download
Before initiating the UltraViewer download, ensure your device meets the minimum system requirements. UltraViewer is lightweight and requires minimal resources: a 1 GHz or faster processor, 2 GB of RAM, and at least 100 MB of free hard drive space. It is compatible with all 32-bit and 64-bit Windows operating systems, including Windows XP, Windows 7, Windows 8, Windows 10, Windows 11, and Windows Server editions. For Mac users, note that there is currently no native UltraViewer version available. However, you can still use UltraViewer on Mac by installing a Windows emulator such as Parallels Desktop, VMware Fusion, or VirtualBox, then performing the UltraViewer download within the virtual Windows environment.
Secure UltraViewer Download Steps
1. Open your preferred web browser and navigate to the official UltraViewer website (https://www.ultraviewer.net/en/). This is the only trusted source for a safe UltraViewer download.
2. On the homepage, locate the "Download" section. You will see two options: "Install (EXE)" and "Portable (ZIP)". Click on your preferred version to start the UltraViewer download. For most users, the EXE version is recommended.
3. Once the download is complete, locate the downloaded file in your browser's download folder. For the EXE version, double-click the file to launch the installation wizard. If a User Account Control (UAC) prompt appears, click "Yes" to allow the installation.
4. The installation wizard will guide you through the process. Check the box "Create a desktop shortcut" to easily access UltraViewer after installation, then click "Next".
5. Click "Install" to begin the installation. The process will take only a few seconds. Once completed, check the box "Launch UltraViewer" and click "Finish" to open the software immediately after installation.
Troubleshooting Tip: If you encounter the error "Cannot create service ultraviewer - error code 1072" during installation, this is typically due to a corrupted previous installation or conflicting services. To resolve this, open the Windows Services console (press Windows + R, type "services.msc", and press Enter), locate any UltraViewer-related services, stop them, and then restart the installation. If the issue persists, restart your computer and try the UltraViewer download and installation again.
Mastering Basic UltraViewer Functions
Understanding the UltraViewer Interface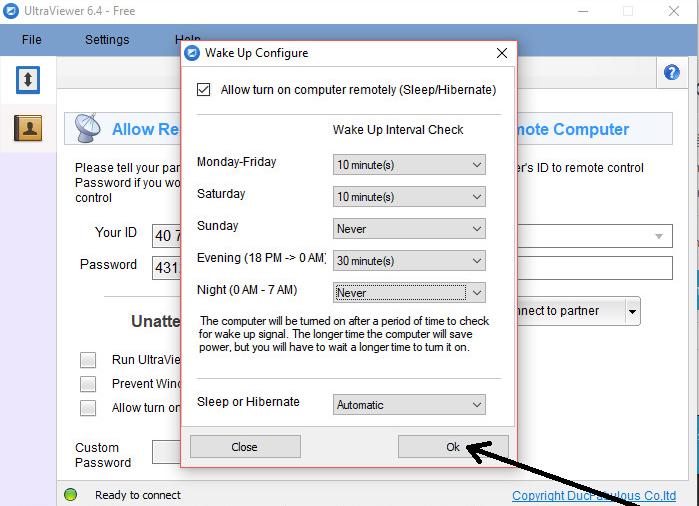
After a successful UltraViewer download and installation, launch the software to familiarize yourself with its interface. The main window is divided into two sections: "Your ID" and "Password" on the left (for others to connect to your computer) and "Partner ID" and "Password" on the right (for you to connect to a remote computer). The interface also includes buttons for "Connect to partner", "View only", "File transfer", and "Settings", making it intuitive even for first-time users.
Initiating and Accepting Remote Connections
To connect to a remote computer using UltraViewer:
1. Ensure the remote computer has also completed the UltraViewer download and installation, and the software is running.
2. Ask the remote user to provide their "Your ID" and "Password" displayed on their UltraViewer interface.
3. On your UltraViewer interface, enter the remote user's ID and Password in the "Partner ID" and "Password" fields on the right.
4. Choose the connection type: select "Connect to partner" for full remote control or "View only" if you only need to observe the remote screen without controlling it (ideal for presentations or demonstrations).
5. Click "Connect to partner" to initiate the connection. The remote user will not need to accept the connection manually unless they have adjusted the settings to require approval.
To allow others to connect to your computer:
1. Simply share your "Your ID" and "Password" with the person who needs to connect.
2. The connection will be established automatically once they enter your ID and Password and click "Connect to partner".
3. To end the remote session at any time, simply close the UltraViewer window or click the "Disconnect" button in the session toolbar.
Using the Built-in Chat Function
UltraViewer includes a convenient chat function that allows you to communicate with the remote user during a session without using additional communication tools. To use the chat feature:
1. During an active remote session, press the F1 key (default shortcut) to open the chat window.
2. Type your message in the input field and press Enter to send it.
3. To close the chat window, press F1 again. All chat messages are only visible during the session and are not saved after disconnection.
Basic File Transfer with UltraViewer
One of the most useful features of UltraViewer is its built-in file transfer capability, which eliminates the need for third-party tools like email or cloud storage services. To transfer files between connected computers:
1. During a remote session, click the "File transfer" button in the UltraViewer interface (or press the F2 shortcut key).
2. A file transfer window will open, displaying the local computer's files on the left and the remote computer's files on the right.
3. To send a file to the remote computer, select the file(s) from the local file list, click the "Send" button (arrow pointing to the right), and choose the destination folder on the remote computer.
4. To receive a file from the remote computer, select the file(s) from the remote file list, click the "Receive" button (arrow pointing to the left), and choose the destination folder on your local computer.
5. The file transfer progress will be displayed, and you will receive a notification once the transfer is complete. UltraViewer supports simultaneous transfer of multiple files and large file sizes, with transfer speeds dependent on the internet connection quality.
Common Basic Issues and Solutions
Connection Timeout or Failure
If you encounter connection timeout or failure after UltraViewer download, the most common causes are network instability, firewall restrictions, or incorrect ID/password entry. Here are the solutions:
1. Verify the ID and Password: Double-check that you have entered the correct Partner ID and Password. Ensure there are no typos or extra spaces.
2. Check Network Connection: Perform a ping test to check network stability. Open Command Prompt (Windows + R, type "cmd", press Enter), then type "ping 8.8.8.8 -t" and press Enter. If there are frequent timeouts or high latency, restart your router and modem (unplug them for 30 seconds, then plug them back in). Switching to a wired Ethernet connection instead of Wi-Fi can also improve stability.
3. Configure Firewall Settings: UltraViewer may be blocked by Windows Firewall or third-party antivirus software. Add UltraViewer as an exception in your firewall settings: Go to Windows Security > Firewall & Network Protection > Allow an app through the firewall. Click "Change settings", find UltraViewer in the list, and ensure both "Private" and "Public" networks are checked. Temporarily disable third-party antivirus software to test if it is causing the issue (remember to re-enable it afterward).
UltraViewer Not Launching After Installation
If UltraViewer does not launch after a successful installation, try the following steps:
1. Restart your computer: This resolves temporary system glitches that may prevent the software from launching.
2. Run as Administrator: Right-click the UltraViewer desktop shortcut and select "Run as administrator" to bypass permission issues.
3. Reinstall UltraViewer: Uninstall UltraViewer via Control Panel > Programs > Uninstall a program, then perform a fresh UltraViewer download from the official website and reinstall it.
Conclusion
A secure and proper UltraViewer download is the first step toward unlocking the power of remote desktop control. By following the step-by-step guide in this article, you can complete the UltraViewer download and installation process smoothly, master basic remote control functions, and troubleshoot common issues. UltraViewer's lightweight design, intuitive interface, and essential features make it an excellent choice for personal and professional remote access needs. Whether you need to assist family members with computer problems, collaborate with colleagues remotely, or provide technical support to customers, UltraViewer provides a reliable and efficient solution. In the next tutorial, we will explore advanced UltraViewer features such as unattended access and audio sharing to further enhance your remote work experience.